Atlona AT-HDVS-CAM-HDMI Bruksanvisning
Atlona
Videokonferenssystem
AT-HDVS-CAM-HDMI
Läs nedan 📖 manual på svenska för Atlona AT-HDVS-CAM-HDMI (8 sidor) i kategorin Videokonferenssystem. Denna guide var användbar för 7 personer och betygsatt med 4.5 stjärnor i genomsnitt av 2 användare
Sida 1/8
Installation Guide
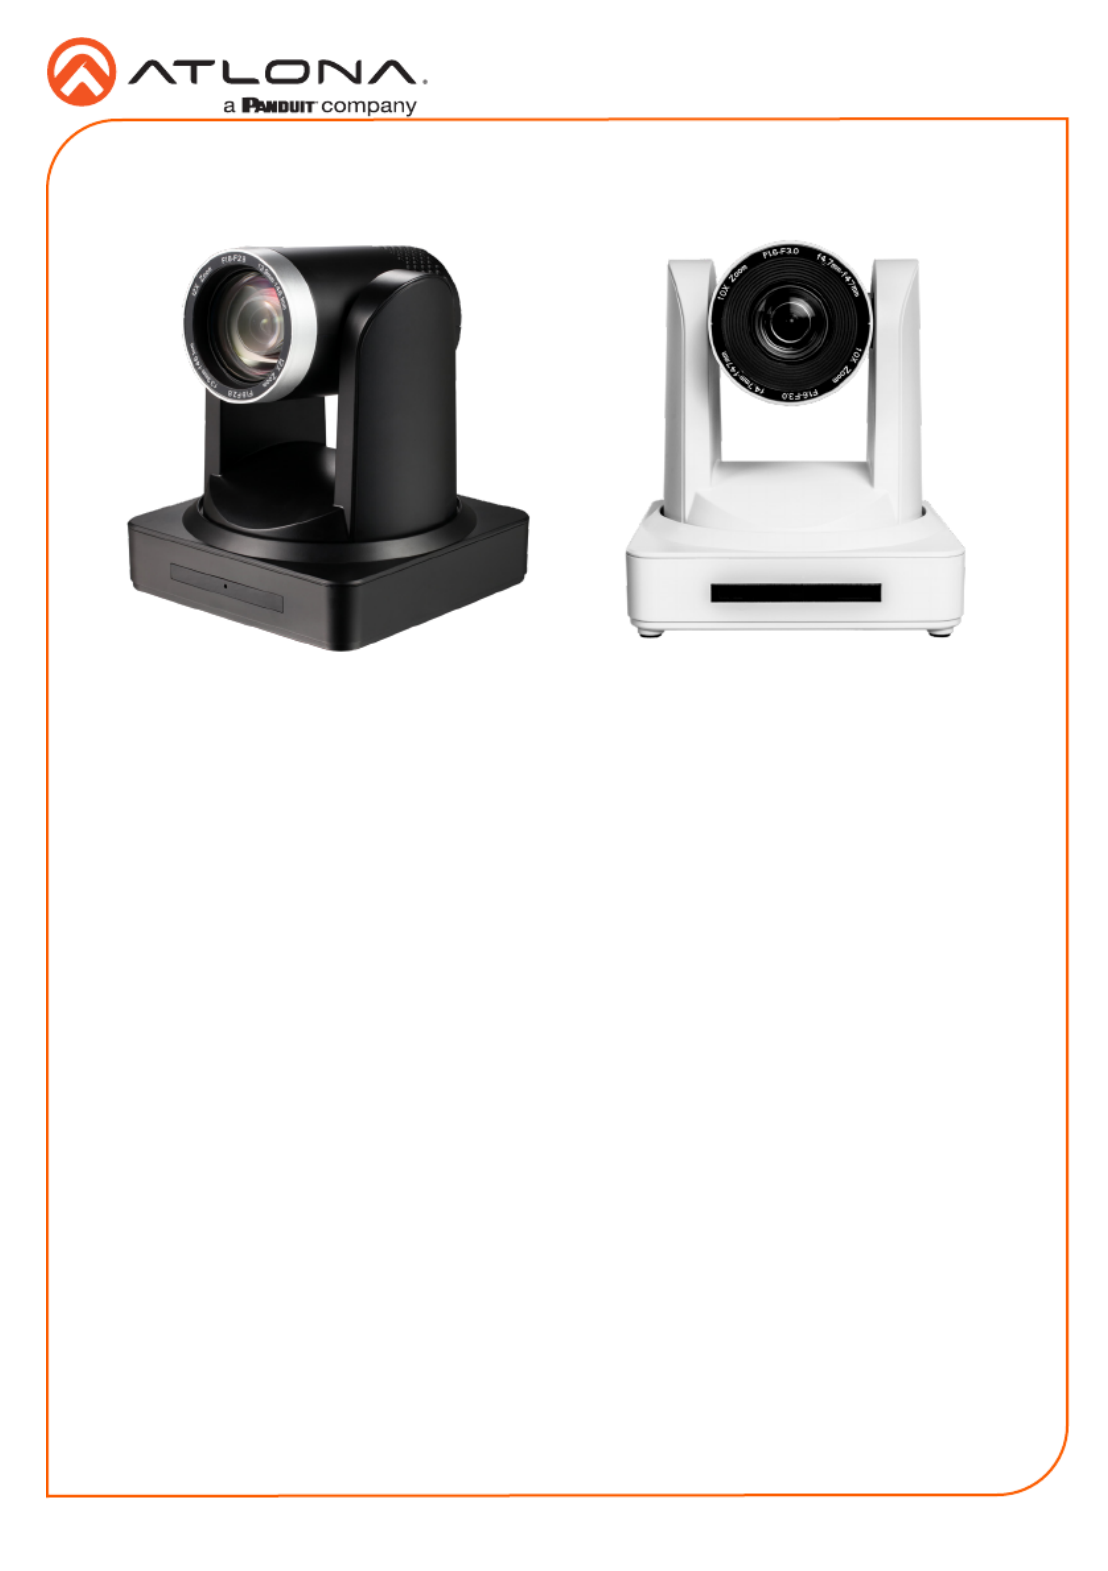
AT-HDVS-CAM-HDMI-BK and AT-HDVS-CAM-HDMI-WH
1
PTZ Camera with HDMI and USB Output
AT-HDVS-CAM-HDMI-BK and AT-HDVS-CAM-HDMI-WH
The Atlona AT-HDVS-CAM-HDMI is an enterprise-grade PTZ camera designed for use in video
conferencing and other applications such as lecture capture and distance education. It features
an HDMI output, as well as a USB 2.0 interface for video and camera control. Simultaneous
video output is available through two interfaces. Through USB, the HDVS-CAM-HDMI seamlessly
integrates with the Omega™ Series for a complete, automated conferencing system that includes
AV and USB extension. The HDMI output is ideal for use with a video conferencing codec, lecture
capture appliance, or PC equipped for video capture. The HDVS-CAM-HDMI delivers high perfor-
mance, professional-quality imaging with video resolutions up to 1080p @ 60 Hz over HDMI and
1080p @ 30 Hz for USB 2.0, as well as fast and accurate auto-focusing, and a fast yet quiet pan
and tilt mechanism. This PTZ camera is ideal for a wide range of small to medium-sized meeting
spaces, classrooms, training rooms, and many other environments. The HDVS-CAM-HDMI is
available in black or white.
1 x AT-HDVS-CAM-HDMI-BK or
AT-HDVS-CAM-HDMI-WH
1 x Wall mounting plate
1 x 1/4 20OUNC screws
1 x IR Remote Control
1 x USB A cable
1 x VISCA to RS-232 DB-9 adapter
2 x AAA battery
1 x Installation Guide
Package Contents

Installation Guide
AT-HDVS-CAM-HDMI-BK and AT-HDVS-CAM-HDMI-WH
2
1 RS-232
Connect included VISCA to RS-232
adapter here to control the camera with a
third party software or hardware controller.
2 USB
Connect USB A cable from this port to
the USB port of a conferencing system or
USB extender such as AT-OME-EX-RX,
AT-OME-SR21, etc.
3 HDMI OUT
Connect to an HDMI device such as a
video conference codec or PC.
4 LAN
Connect to a network switch to control
the unit via TCP/IP or webGUI.
5 DC 12V
Connect the included 12V power supply
to this port.
Panel Descriptions
1
0
X
Z
o
o
m
F
1
.
6
-
F
3
.
0
f
4
.
7
m
m
-
f
4
7
m
m
1
0
X
Z
o
o
m
F
1
.
6
-
F
3
.
0
f
4
.
7
m
m
-
f
4
7
m
m
RS-232
USB HDMI OUT LAN
DC 12V
USB
AT- HDVS-C AM-H DMI -BK
1 2 3 4 5
Mounting Instructions
The HDVS-CAM-HDMI has two installation options, wall mount (included) and ceiling mount
(purchased separately).
Wall Mount installation
To install the HDVS-CAM-HDMI, 4 M6 swelling bolts, 1 1/4 20UNC bolt, 4 M6 nuts & shims, the
included wall mount bracket, and the HDVS-CAM-HDMI are needed.
1 Install the M6 swelling bolts in a rectangular pattern on the wall, 100 mm wide and 50 mm
high.
2 Attached the wall mount bracket onto the wall, by placing them on the M6 swelling bolts
and securing it with the M6 nuts and shims.
3 Once the wall mount bracket is secure on the wall, place the camera on the top of the wall
mount bracket and secure it with the 1/4 20UNC bolt.

Installation Guide
AT-HDVS-CAM-HDMI-BK and AT-HDVS-CAM-HDMI-WH
3
Ceiling Mount installation
To install the HDVS-CAM-HDMI, 4 PA3X30 self-tapping screws, 4 PM3X6 screws, 4 screw
stoppers, 1 1/4 20UNC screw, the optional ceiling upper and lower covering plates, and the
HDVS-CAM-HDMI are needed.
1 Install the 4 screw stoppers in the ceiling.
2 Connect the upper ceiling covering plate to the screw stoppers using the PA3X30 self-
tapping screws.
3 Connect the lower ceiling covering plate to the bottom of the HDVS-CAM-HDMI using the
1/4 20UNC screw.
4 Mount the lower ceiling covering plate to the upper ceiling plate using 3 PM3X6 bolts.
ON KE
1 2
ON KE
1 2
1
0
X
Z
o
o
m
F
1
.
6
-
F
3
.
0
f
4
.
7
m
m
-
f
4
7
m
m
1
0
X
Z
o
o
m
F
1
.
6
-
F
3
.
0
-
f
4
7
m
m
1
0
X
Z
o
o
m
F
1
.
6
-
F
3
.
0
f
4
.
7
m
m
-
f
4
7
m
m
1
0
X
Z
o
o
m
F
1
.
6
-
F
3
.
0
-
f
4
7
m
m
NOTE: The camera picture will need to be
inverted for video to be viewed correctly. View the
HDVS-CAM-HDMI manual for instructions on how
to invert video.
Produktspecifikationer
| Varumärke: | Atlona |
| Kategori: | Videokonferenssystem |
| Modell: | AT-HDVS-CAM-HDMI |
| Färg på produkten: | Black, Red |
| Vikt: | 1620 g |
| Bredd: | 359 mm |
| Djup: | 146 mm |
| Höjd: | 247 mm |
| Förpackningens vikt: | 2100 g |
| Förpackningens bredd: | 268 mm |
| Djuppackning: | 172 mm |
| Förpackningshöjd: | 365 mm |
| LED-indikatorer: | Ja |
| Batterikapacitet: | 1200 mAh |
| Blåtand: | Ja |
| På / Av knapp: | Ja |
| Bluetooth-version: | 4.0 |
| Anslutningsteknik: | Bedraad en draadloos |
| Typ av strömkälla: | Battery, USB |
| Medföljande kablar: | AUX, Micro-USB |
| Integrerad minneskortläsare: | Ja |
| Kompatibla minneskort: | SD |
| Ursprungsland: | China |
| Batteri/Batterispänning: | 5 V |
| Antal USB 2.0-portar: | 1 |
| Genomsnittlig effekt: | 10 W |
| Antal högtalare: | 1 |
| Volymkontroll: | Digitaal |
| FM-radio: | Ja |
| Batteritid/batteritid: | 6 uur |
| Plug and play: | Ja |
| Rekommenderad användning: | Universeel |
| Impedans: | 4 Ohm |
| 3,5 mm-kontakt: | Ja |
| Standbytid: | 24 uur |
| USB-anslutning: | Ja |
| Medium effekt subwoofer: | 6 W |
| Ljudutgångskanaler: | - kanalen |
| Antal förare: | 3 |
| Frekvensomfång: | 100 - 20000 Hz |
| Känslighet: | 80 dB |
| Fjärrstyrd: | Ja |
| Snabbinstallationsguide: | Ja |
| Batterivikt: | 43.6 g |
| AUX ingång: | Ja |
| Typ av högtalare: | 1-weg |
| Medföljande subwoofer: | Ja |
| Laddning via USB: | Ja |
| FM-band: | 87.5 - 108 MHz |
| RMS power högtalare: | 3 W |
| Produktdesign: | Rechthoek |
| Batterityp: | Ingebouwd |
| Nuvarande batteri: | 0.5 A |
Behöver du hjälp?
Om du behöver hjälp med Atlona AT-HDVS-CAM-HDMI ställ en fråga nedan och andra användare kommer att svara dig
Videokonferenssystem Atlona Manualer

10 September 2024
10 September 2024
10 September 2024
Videokonferenssystem Manualer
- Videokonferenssystem Sony
- Videokonferenssystem HP
- Videokonferenssystem Philips
- Videokonferenssystem Panasonic
- Videokonferenssystem VTech
- Videokonferenssystem Yamaha
- Videokonferenssystem Yealink
- Videokonferenssystem Aluratek
- Videokonferenssystem Asus
- Videokonferenssystem Logitech
- Videokonferenssystem Black Box
- Videokonferenssystem Roland
- Videokonferenssystem DataVideo
- Videokonferenssystem Sennheiser
- Videokonferenssystem Tork
- Videokonferenssystem Cisco
- Videokonferenssystem AVerMedia
- Videokonferenssystem Iiyama
- Videokonferenssystem Plantronics
- Videokonferenssystem Lumens
- Videokonferenssystem Marantz
- Videokonferenssystem Jabra
- Videokonferenssystem AT&T
- Videokonferenssystem Viewsonic
- Videokonferenssystem Marshall Electronics
- Videokonferenssystem Vaddio
- Videokonferenssystem Newline
- Videokonferenssystem Anchor Audio
- Videokonferenssystem Ipevo
- Videokonferenssystem Gefen
- Videokonferenssystem Monoprice
- Videokonferenssystem Chief
- Videokonferenssystem Crestron
- Videokonferenssystem JPL
- Videokonferenssystem Grandstream
- Videokonferenssystem TAIDEN
- Videokonferenssystem Polycom
- Videokonferenssystem Extron
- Videokonferenssystem ClearOne
- Videokonferenssystem AVer
- Videokonferenssystem B-tech
- Videokonferenssystem Legrand
- Videokonferenssystem KONFTEL
- Videokonferenssystem Kramer
- Videokonferenssystem Owl Labs
- Videokonferenssystem Huddly
- Videokonferenssystem Alfatron
- Videokonferenssystem AMX
- Videokonferenssystem BZBGear
- Videokonferenssystem WyreStorm
- Videokonferenssystem MuxLab
- Videokonferenssystem Middle Atlantic
- Videokonferenssystem Angekis
- Videokonferenssystem VDO360
- Videokonferenssystem VFI
- Videokonferenssystem PulseAudio
- Videokonferenssystem HuddleCamHD
- Videokonferenssystem Heckler
- Videokonferenssystem KanDao
Nyaste Videokonferenssystem Manualer
1 April 2025
20 Februari 2025
15 Februari 2025

8 Februari 2025
8 Januari 2025
7 Januari 2025
5 Januari 2025
4 Januari 2025
27 December 2024
27 December 2024