Brother AiRScouter WD-370B Bruksanvisning
Brother
VR-glasögon
AiRScouter WD-370B
Läs nedan 📖 manual på svenska för Brother AiRScouter WD-370B (51 sidor) i kategorin VR-glasögon. Denna guide var användbar för 18 personer och betygsatt med 4.5 stjärnor i genomsnitt av 2 användare
Sida 1/51
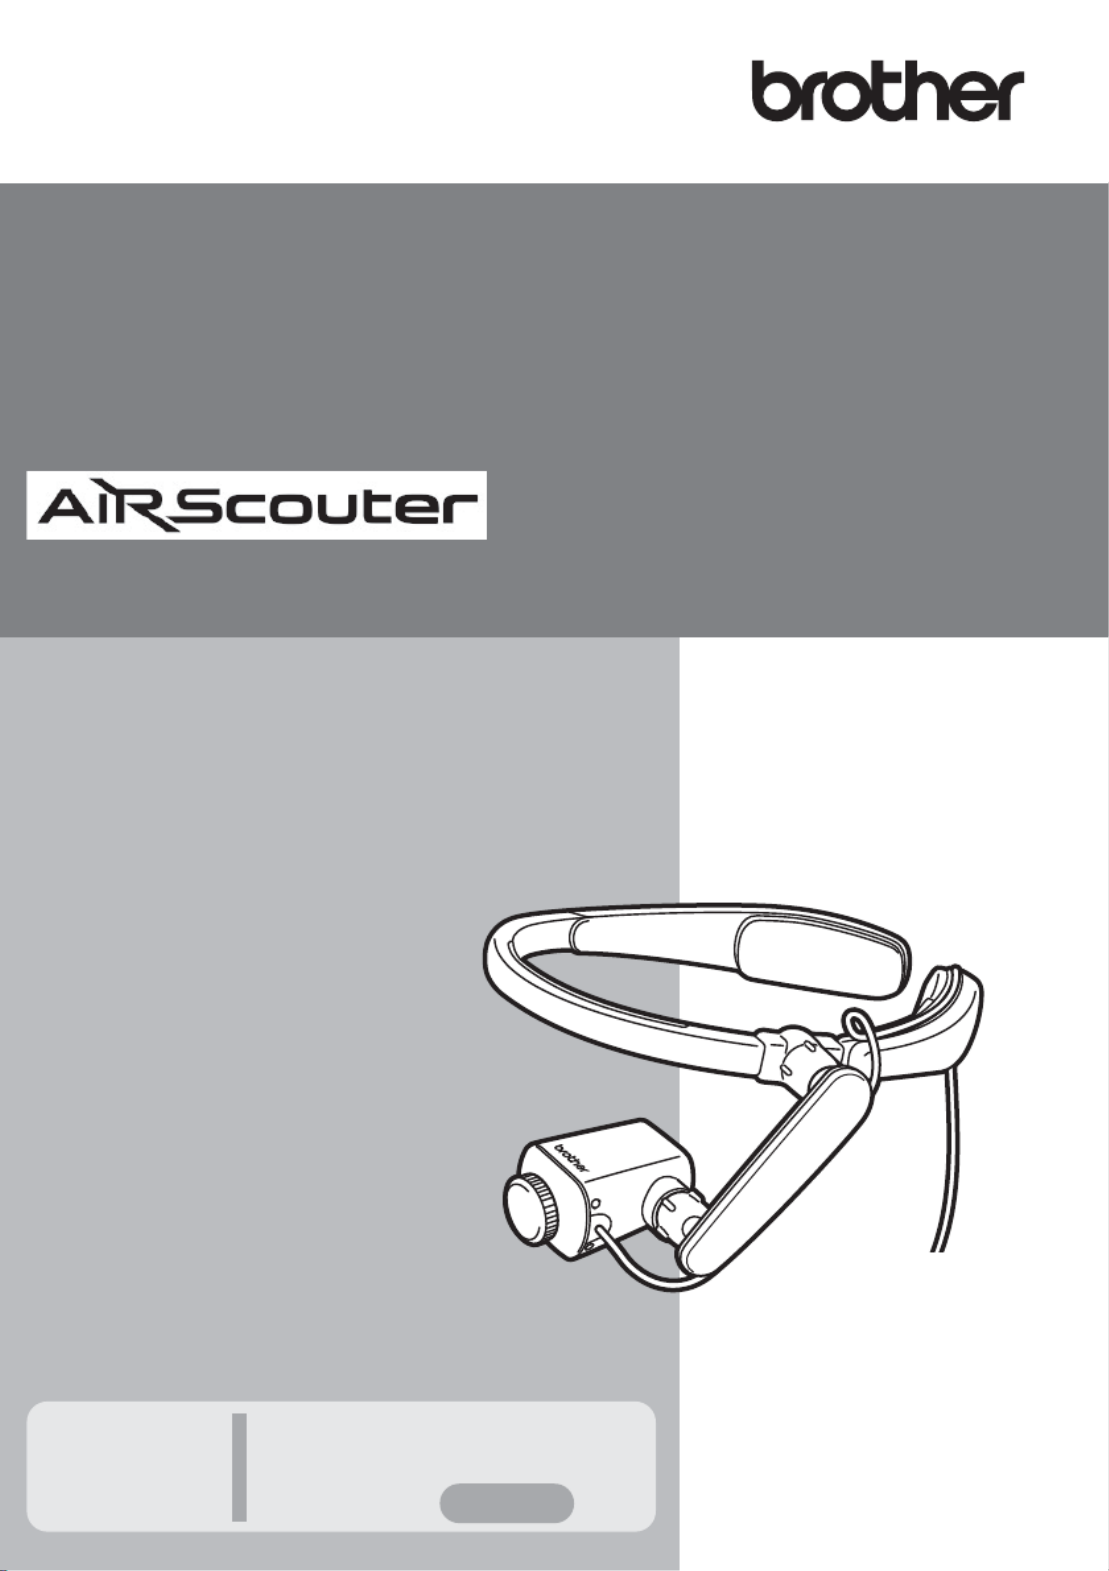
User's Guide
This guide contains precautions
and operation methods for use
with this product.
Read the whole guide before using
your product and keep it for later
reference.
Troubleshooting
If you have any problems
with this product, to find a
solution see
User's Guide WD-370B
Page 35
Version 0
UK ENG
WD-370B
2
1. Introduction
We use the following symbols and conventions throughout this
User's Guide:
Symbols and conventions used
in this document
Important Explains precautions that must be observed
when using this product.
Note Provides supplementary information about
using this product.

3
Introduction
1. Introduction .......................................................................2
Symbols and conventions used in this document .............2
Names and functions of key components .........................5
2. Before using the AiRScouter...........................................11
How to assemble the AiRScouter ...................................11
How to wear the AiRScouter ...........................................14
3. Adjusting the display .......................................................15
Turn the power on ...........................................................15
Adjust the position of the Head Display ..........................15
Adjust the focus of the image..........................................17
4. Adjusting the Settings .....................................................18
Adjust brightness.............................................................18
Lock the buttons of the control panel ..............................18
Enlarge or reduce the size of the image .........................19
Rotate the image.............................................................20
Change colour mode.......................................................20
Attach the rear band........................................................21
Switch the head display to be
viewed with the right eye.................................................22
Replace the Eyecup ........................................................27
Power supply...................................................................29
Using an External Battery .....................................30
5. Maintenance....................................................................33
Clean the Lens ................................................................33
Clean the Head Band......................................................34
Clean the Control Box .....................................................34
6. Troubleshooting ..............................................................35
Contents
Produktspecifikationer
| Varumärke: | Brother |
| Kategori: | VR-glasögon |
| Modell: | AiRScouter WD-370B |
Behöver du hjälp?
Om du behöver hjälp med Brother AiRScouter WD-370B ställ en fråga nedan och andra användare kommer att svara dig
VR-glasögon Brother Manualer

12 September 2024
12 September 2024
12 September 2024
8 Augusti 2024
VR-glasögon Manualer
- VR-glasögon Sony
- VR-glasögon HP
- VR-glasögon Livoo
- VR-glasögon Renkforce
- VR-glasögon Lenovo
- VR-glasögon Exibel
- VR-glasögon Trust
- VR-glasögon Oculus VR
- VR-glasögon HTC
- VR-glasögon DJI
- VR-glasögon ILive
- VR-glasögon Zeiss
- VR-glasögon Odyssey
- VR-glasögon ReTrak
- VR-glasögon META
- VR-glasögon Hi-SHOCK
Nyaste VR-glasögon Manualer
30 Januari 2025
16 December 2024
25 September 2024
21 September 2024
20 September 2024
17 September 2024
17 September 2024
11 September 2024
11 September 2024
11 September 2024